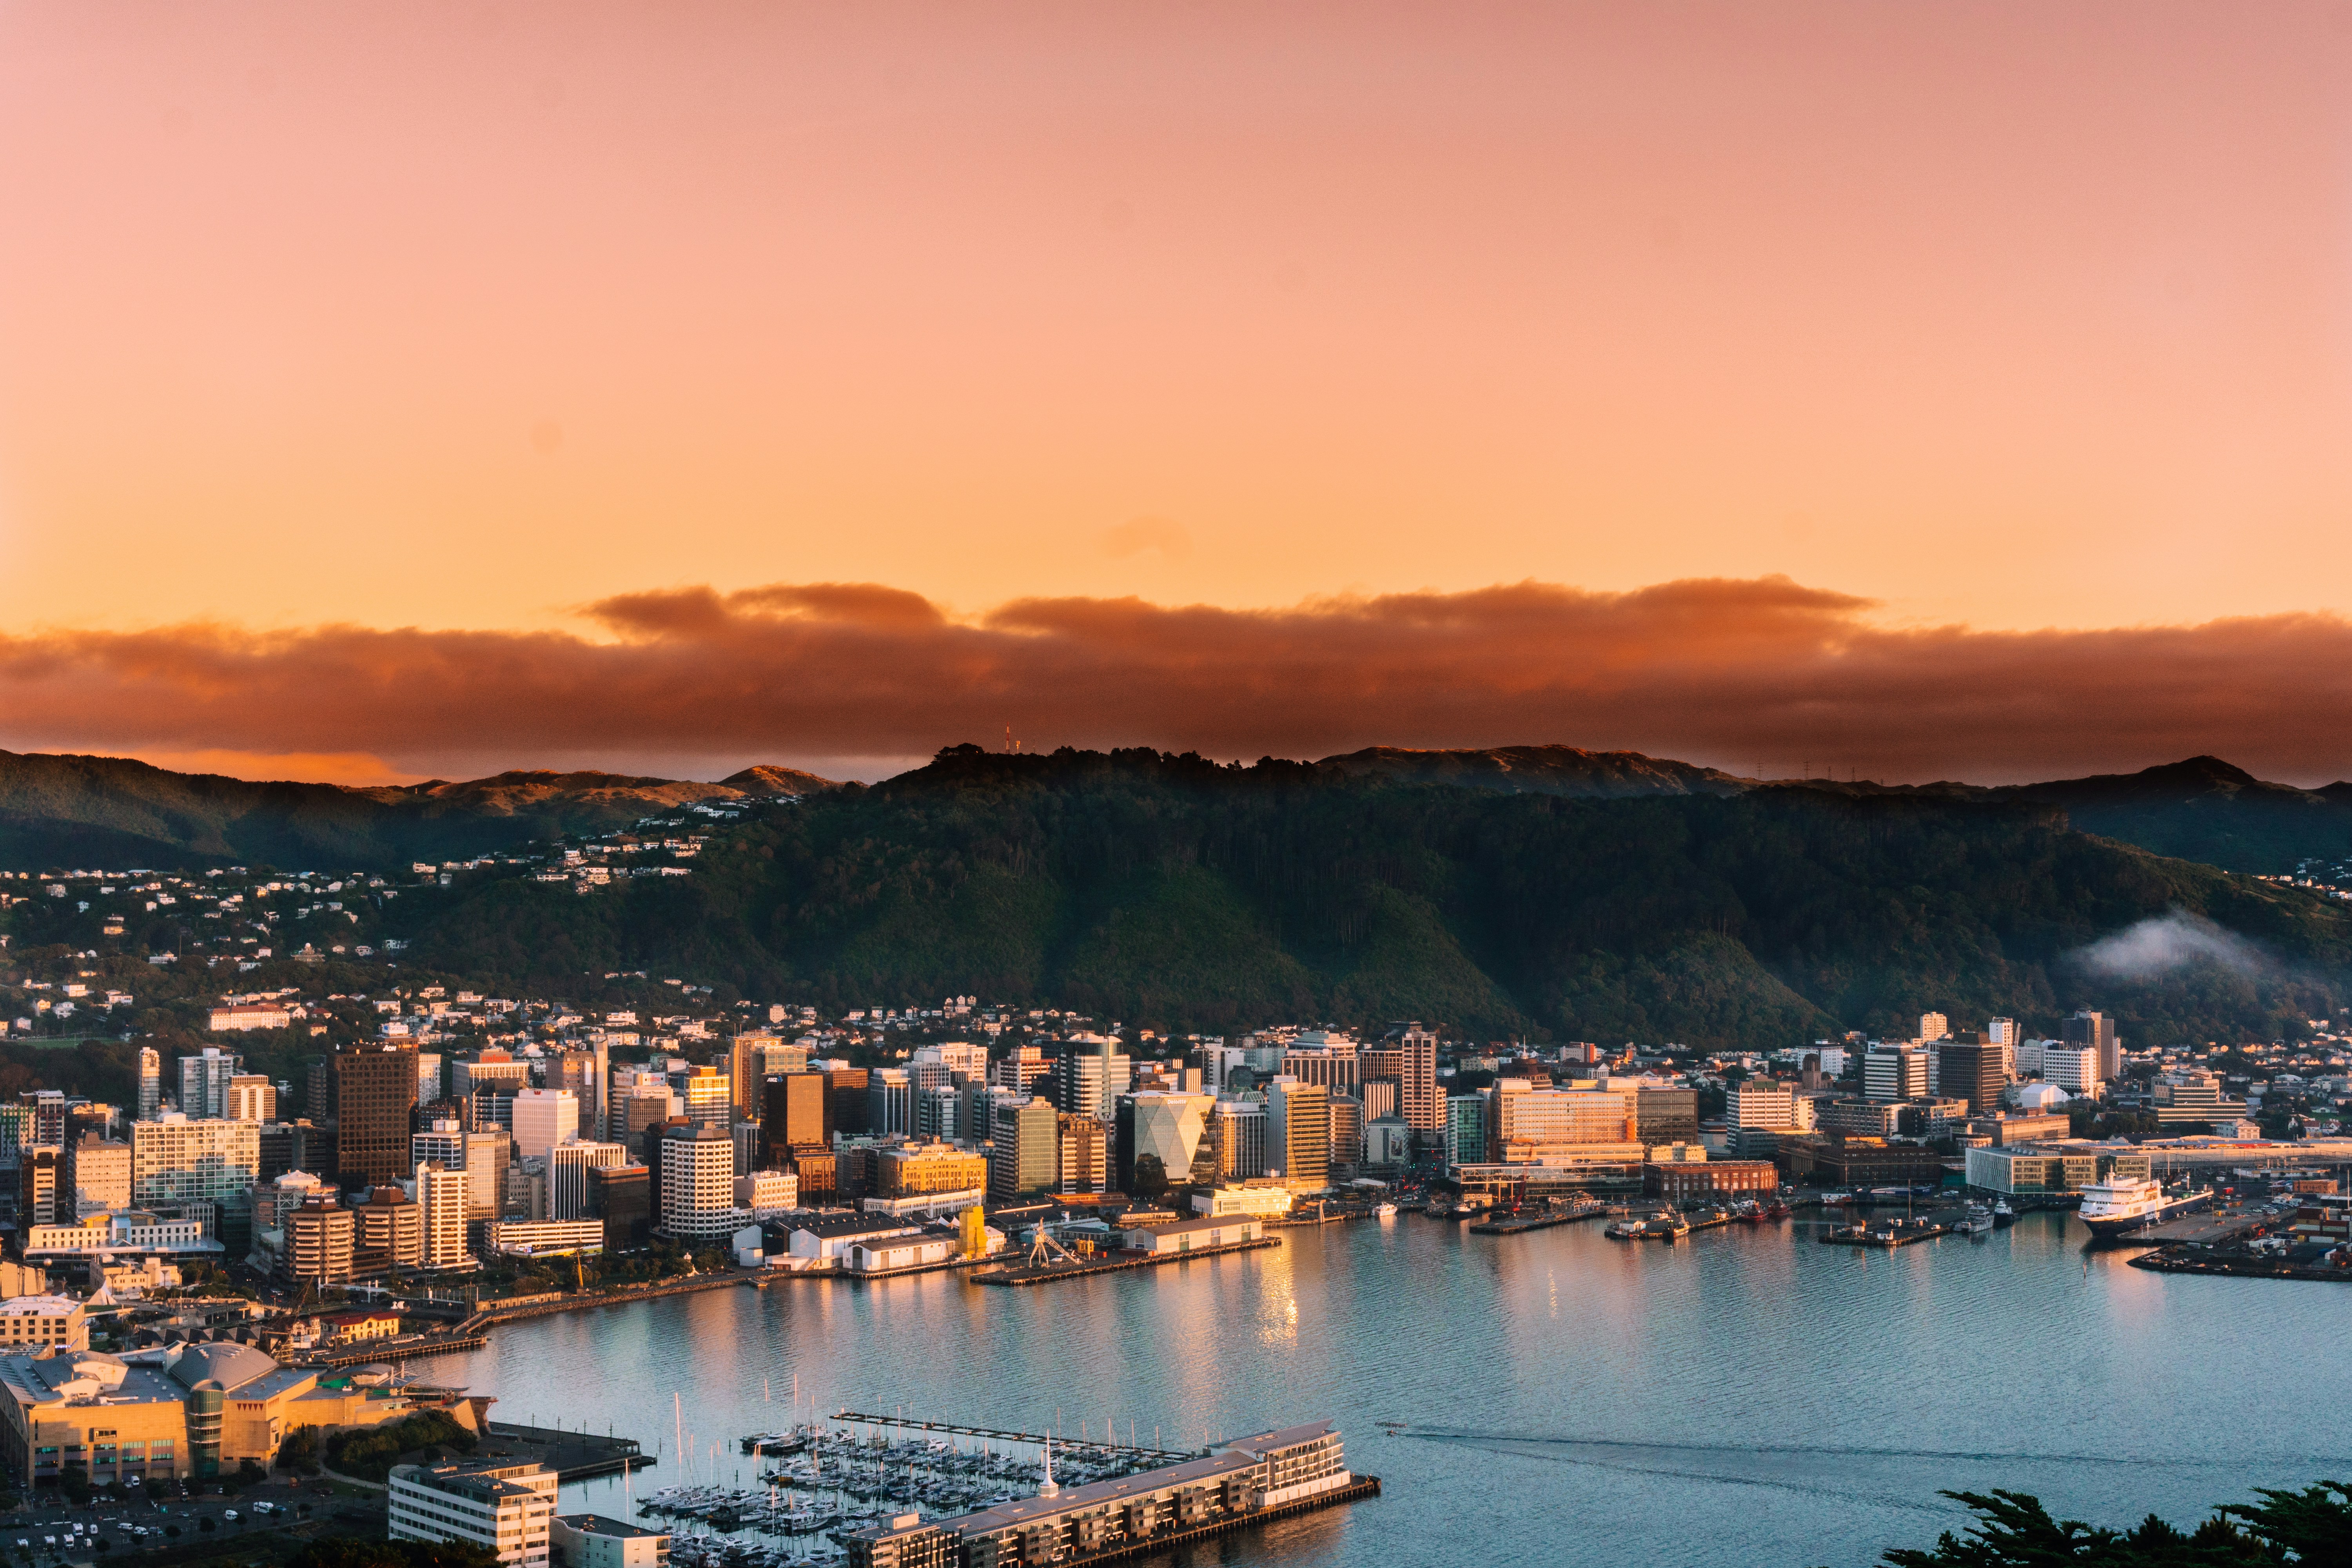
WLG destination photo

To WLG?

Tip: Sit on the left side for landing.

The left side offers breathtaking views of the rugged South Island mountains across the Cook Strait and the jagged cliffs of the South Coast before the aircraft banks over the hills for a narrow landing.

ZQN β†’ WLG
Queenstown International to Wellington
πŸ’§πŸ”οΈπŸ”οΈβ„οΈπŸοΈ

The left side is the premier choice for this route, offering a spectacular, close-up parade of the Southern Alps and a magnificent view of Aoraki/Mount Cook, the highest peak in New Zealand.

0
9.6
TUO β†’ WLG
Taupo to Wellington
πŸŒ‹β„οΈπŸοΈπŸ”οΈπŸ™οΈ

The right side of the aircraft offers an elite viewing experience of New Zealand's volcanic heart, including direct views of the Tongariro National Park volcanoes and the stunning Kapiti Coast.

0
9.5
AKL β†’ WLG
Auckland to Wellington
πŸ™οΈπŸŒ‹πŸŒŠβ›°οΈπŸš

The left side offers the most dramatic views of New Zealand's volcanic heart, including the three major peaks of the Central Plateau and a spectacular entry into Wellington Harbour.

1
9.2
ROT β†’ WLG
Rotorua to Wellington
πŸŒŠπŸŒ‹πŸ”οΈπŸοΈπŸ™οΈ

The Right Side offers an unparalleled showcase of New Zealand's volcanic heart, including the three major peaks of Tongariro National Park and a stunning entry into Wellington via the coast.

0
9.2
WSZ β†’ WLG
Westport to Wellington
πŸ”οΈπŸš€πŸŒ¬οΈπŸš’πŸ™οΈ

The right side offers a spectacular vantage point over the rugged Kahurangi National Park and the intricate, turquoise waterways of the Marlborough Sounds before the approach into Wellington.

0
9.2
TRG β†’ WLG
Tauranga to Wellington
πŸ—»πŸŒ‹πŸοΈπŸš’πŸ”οΈ

The right side offers a front-row seat to the dramatic volcanic peaks of the central North Island and expansive views across the Cook Strait toward the South Island.

0
9.2
HLZ β†’ WLG
Hamilton to Wellington
πŸ–οΈπŸ”οΈπŸοΈπŸš’πŸŒ¬οΈ

The right side offers a superior view of the iconic Mount Taranaki and the dramatic western coastline, followed by a scenic entry over the Cook Strait.

0
8.8
WRE β†’ WLG
Whangarei to Wellington
πŸŒŠβš“πŸ”οΈπŸοΈβ›΅

The right side offers a superior vantage point for the most iconic landmark on this route: the perfectly symmetrical cone of Mount Taranaki, alongside stunning views of the Tasman Sea and Kapiti Island.

0
8.8
IVC β†’ WLG
Invercargill to Wellington
πŸ”οΈπŸšœπŸ”οΈπŸš€πŸ™οΈ

The left side offers an unparalleled panoramic view of the South Island's rugged interior, the snow-capped Kaikoura Ranges, and the intricate, emerald-watered Marlborough Sounds before touchdown.

0
8.8
MEL β†’ WLG
Melbourne to Wellington
πŸŽοΈπŸ”οΈπŸŒŠβ›΄οΈβš“

The right side offers unparalleled views of the Marlborough Sounds and the rugged northern tip of the South Island during the descent into Wellington.

0
8.8
PMR β†’ WLG
Palmerston North to Wellington
πŸοΈπŸ–οΈπŸŒŠπŸ”οΈπŸ—ΏπŸš

The Right Side provides a spectacular coastal experience, offering close-up views of Kapiti Island and the rugged coastline of the lower North Island, with the South Island often visible across the Cook Strait.

0
8.8
NSN β†’ WLG
Nelson to Wellington
πŸŒŠπŸ”οΈπŸžοΈπŸ™οΈπŸŸοΈ

The left side offers a superior vantage point for the intricate Pelorus and Kenepuru Sounds, followed by a dramatic view of Wellington's city center and harbor during the final approach into the capital.

0
8.7
Showing page 1 of 2 (21 total routes)